Learning how to use a paint sprayer with an air compressor is crucial for DIYers. It’s the mother of all the techniques. There’s nothing wrong with coating your interior doors with a handheld turbine, but if you want to be the best, you should understand pneumatic painting basics. Let’s learn what it is and how to do it:
What's Air Compressor Spraying with a Paint Spray Gun?
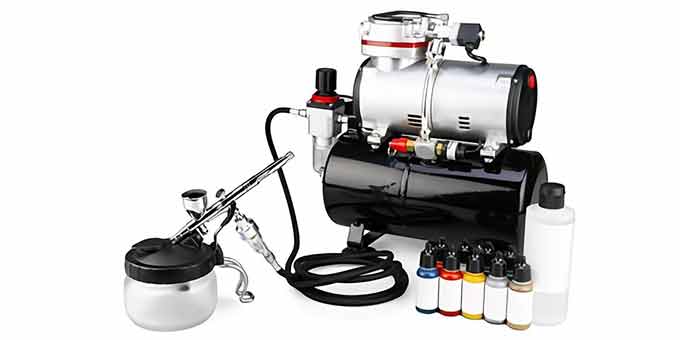
Air compressor spraying means using an electric air compressor to propel the paint onto the surface. There are three options for power-coating: compressors, airless sprayers, and turbines.
Turbines are more affordable and use an internal fan to drive your paint. However, airless machines (hydraulics) use a piston pump to propel the liquid. Compressed air sprayers (pneumatic sprayers) use an external compressor to move the covering material.
This painting style requires a powerhouse that’s separate from the spray gun.
Airless and turbine sprayers, whether handheld or not, are off-the-shelf machines. They can be used right out of the box; just fill the pressure pot and spray away.
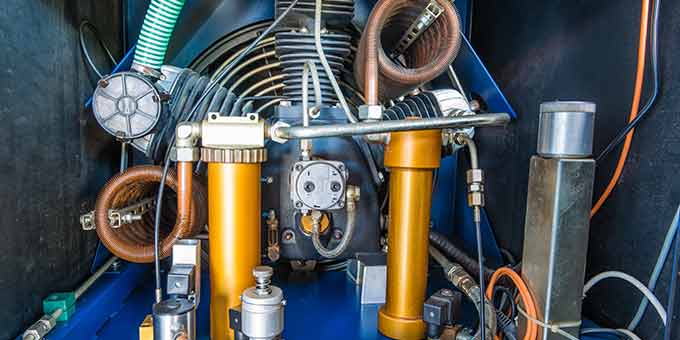
However, if you get a pneumatic gun, they need a compressor to shoot out the compressed air. Often, they are electric, but you can find gas-driven options. They create and store the pressurized air in a robust tank. That gets connected to the spray gun, which holds a paint container. Then, it atomizes and propels the medium from the nozzle.
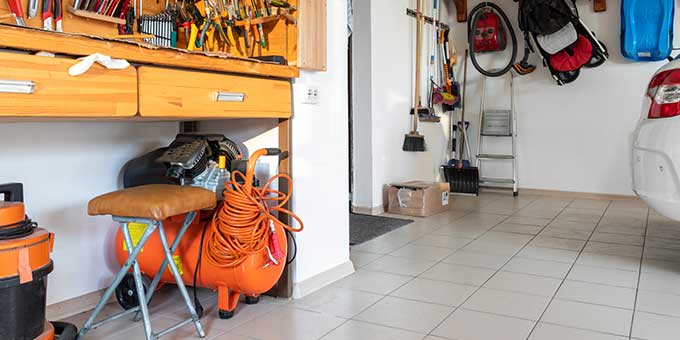
The compressor doesn’t have to be designed specifically for paint. As long as it offers the right amount of pressure for the gun, it works. Therefore, if you already own such a machine for impact wrenches, nail guns, and power drivers, you just have to buy your paint gun.
Benefits of Using a Paint Sprayer with an Air Compressor
Pneumatic painters consider any other form of spraying to be cheating. If you use a plug-and-play turbine, there’s little effort involved, and you don’t need much experience. However, compressed air painting demands a fine touch, skill, and more preparation.
Compressor machines have more transfer efficiency than other spraying options, which means less wastage and less overspray. That leads to a blemish-free coating that’s smoother, whether you’re painting furniture, a vehicle, or a fence. Here are just some of the benefits:
Can be tailored to you – Most spray guns allow you to adjust your air pressure to handle the coating medium.
Save money – Less wastage indicates less paint used.
Safety – A HVLP spray gun operates at just 10 PSI, while airless machines might exceed 3000 PSI. Using a high-volume low-pressure gun is much safer.
Low noise – They are quieter than other hydraulic machines but louder than paint rollers and turbines.
Versatility – Switch guns out for different projects.
Disadvantages of Using an Air Compressor for a Paint Sprayer
The main downside of paint sprayers with compressors are portability and cost. This method requires some initial investment. Along with the paint, you need a regulator, air hose, compressor, and gun.
With that, compressor-driven painting isn’t ideal for some jobs. Compressors can be heavy, oily, and bulky. You can’t put it in your living room to paint your shelves nor pop it into the car to help stain your aunt’s coffee table.
Other disadvantages can include:
More preparation time
Less rapid coverage
Garage or outside area needed
Not ideal for viscous paints
Can’t offer ultra-fine atomization
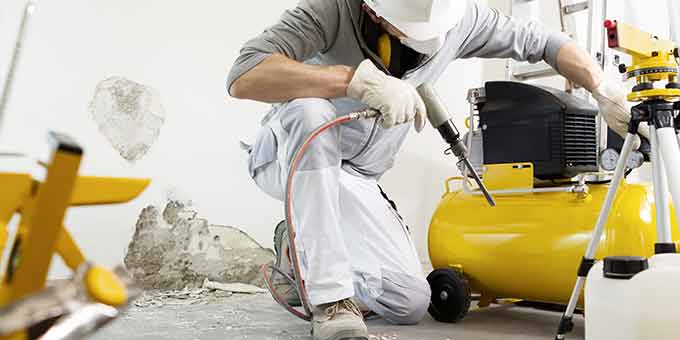
How to Use a Paint Sprayer with Air Compressor
Here’s how to use paint sprayers with a mini air compressor:
Choose the Painting Medium and Tools
Choose a spray gun for the paint job and find a compressor that’s compatible with that tool. Make sure to think about the size of the project, the coating medium you use, and the finish you want.
Find the right paint for the project:
Primer works well on bare surfaces like metal and wood.
Latex is ideal for ceilings and walls.
Stains are used for wood.
Acrylic is best for crafting.
Enamels work well in areas that take significant abuse.
Urethanes are best for automotive.
Prepare Yourself
Determine how long the project might take to complete and then set a time-table. That’s crucial for completing big jobs. Each coat must be finished in one session. You can’t paint half of your car bonnet, go for a coffee, and return later. That means the paint dries at different rates, which leaves signs behind.
You should also wear protective gear, such as coveralls, goggles, gloves, and the like. Many paints use VOCs that could cause significant damage when inhaled.
Prepare the Surface and Spraying Area
You’re probably spraying outside or in a garage unless you have the inclination to lug a compressor into the home.
Therefore, it might not be as important to prepare the work area. Still, you don’t want to drench everything in paint. Therefore, you should use drop cloths or old sheets with masking tape to protect your assets and shield any areas that don’t require coverage.
Painting emphasizes imperfections, so make sure you prepare the base material before you spray. Clean it with soapy water or spirits (oil-based paints), wiping away the surface debris and dirt. Then, you should dry and sand the product. Once the area is level, wash it again.
Professionals often use a thin primer coat to reveal areas that aren’t smooth
Prepare the Paint
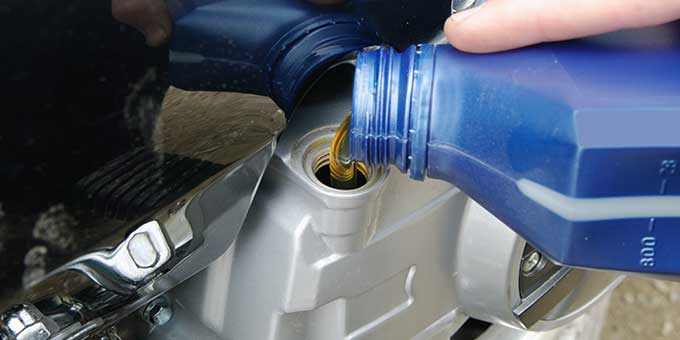
Since compressor painting involves sealers, stains and other low-viscosity mediums, thinning might not be necessary. However, diluting the paint might be required depending on your gun type and is crucial for latex paints and chalk-based coatings.
You should also thin the paint with the right liquid. Oil paints require mineral spirits, but you can dilute water-based paints with water. It might be wise to add conditioner to latex paint to provide a smoother flow.
Fill the container with the paint with a can pourer or paint funnel. Then, attach your cup to the gun, creating a tight seal.

Prepare the Spray Gun and Air Compressor
Make sure you read the manual for the paint gun to know how to use it. Check to ensure that your gun is clean, removing the tip cap. Do a visual scan of your hose for holes.
Connect your hose to the compressor and gun. Use the right connector for the attachments. Modern guns often use quick-connect fittings that have a gasket to stop air leaks.
Turn on your compressor and set it to the right pressure level. Some HVLP spray guns use an in-line regulator so that you can step-down the pressure for the shooter. This could take several minutes to complete.
Prime and Do a Test Spray
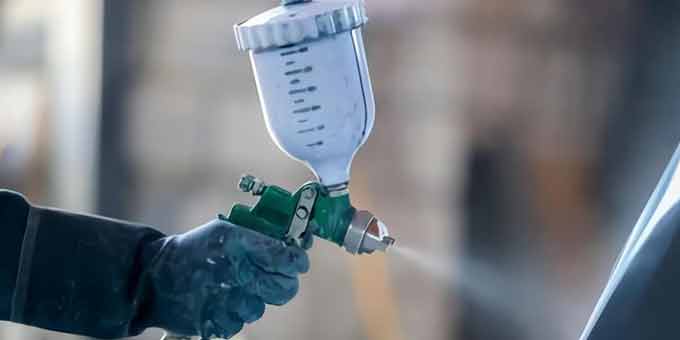
Most spray guns are gravity- or siphon-fed and offer a material volume control dial found at the top rear section. Turn it counter-clockwise to let the gun operate at its maximum delivery.
Prime your spray gun. Point the shooter toward something and squeeze its trigger. Only air should come from the nozzle at first, but then a stream of paint can be seen. Keep depressing the trigger until there’s no sputtering. Turn the flow dial clockwise until you get the right spray pattern.
Adjust the Air Compressor Spray Nozzle for the Spray Pattern
Modern spray guns often offer three spray patterns: circular, horizontal, and vertical. Turn the nozzle end to change them. Overall, the painting jobs you do depends on the pattern you require.
As a general rule, these are the patterns to consider:
Vertical – Side to side movements (painting walls)
Horizontal – Up and down motions (slats or railings)
Circular – Small areas with a fine mist (touch-ups and corners)
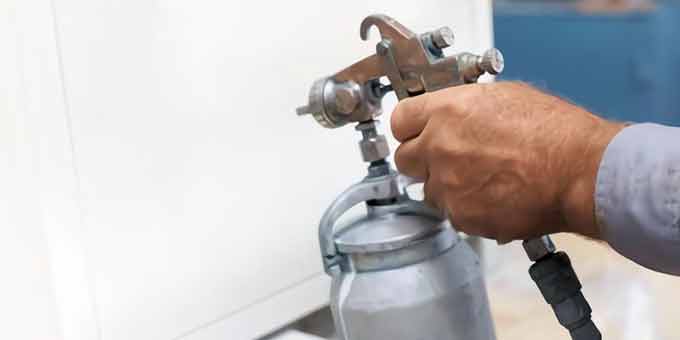
Spraying the Surface
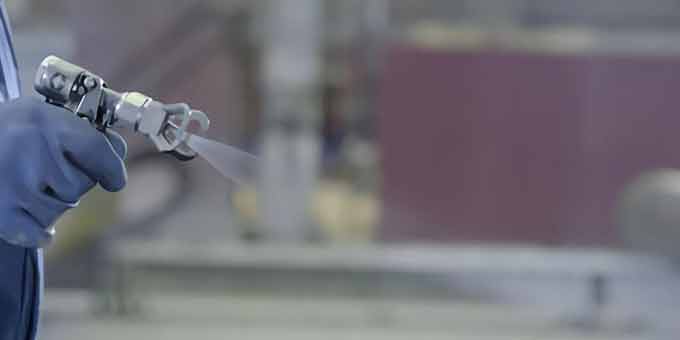
Hole your gun about 12 inches from the surface, squeezing the trigger to start the paint flow. Move your gun slowly along the material. Make sure that each pass overlaps the last one slightly. With that, you should ensure that there are no drips or pooling in the project. Refill your paint cup as needed, but prime it again.
Completing the Project
Once you’re done with the paint job, turn off your compressor and clean the paint gun. Put the paint sprayer away for the next use.
FAQs
What Size Air Compressor Do I Need for a Paint Sprayer?
Depending on the paint sprayer, you require a single-stage compressor that shoots 10 to 30 PSI for your painting job. Generally, HVLP guns require lower pressures.
What PSI Is Needed for Spray Painting?
You need about 10 to 30 PSI for spray painting using an air compressor.
What Should I Look for When Buying a Paint Sprayer?
Consider a paint sprayer that uses a compressor. Then, decide whether you want a gravity- siphon-, or pressure-feed. Then, consider quality and your budget.
What Are the Best Air Compressors for Painting?
It’s important to find the best air compressors to use with your spray gun. The most popular brands include California Air Tools, Porter-Cable, and Craftsman.
What Are the Requirements for Paint Spraying?
Depending on the model, pneumatic paint sprayers require outputs of 10 to 30 PSI with a cubic feet per minute (CFM) flow of 0.3 to 12. This is ideal for spray painting
Can You Use Latex Paint in an Air Compressor?
You can use spray guns on latex paint, but make sure the gun’s tip is 0.017 to 0.019 inches wide.
Can You Use Airless Guns with a Compressor?
No. The internal chambers and nozzle design aren’t compatible with an air compressor. You can’t fill the paint or connect your air hose to help you apply paint.
Conclusion
If you want an even coat without having to use more paint, a paint sprayer is ideal. You don’t need one specifically designed to be used with a compressor, and they can be suitable for larger projects. Today, you learned how to use a paint sprayer and compressor, so you should be able to tackle large projects and small ones with ease!