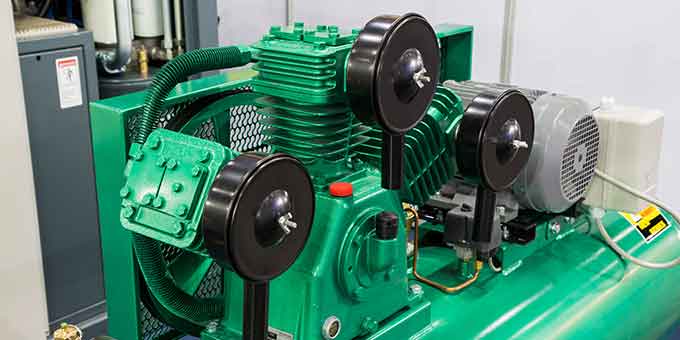
It’s time to face a fix if service bills and leaking holes are distressing your compressor pump head. Most models share some general components and characteristics, meaning an air compressor pump can be as diverse as those using it.
One of the most common problems with an air compressor relates to the motor pulley. Power is transferred between the pump on the air compressor and the motor thanks to a timing belt.
The timing belt will begin to deteriorate after years of use, and rightfully so. After extended usage, the belt breaks and will need a replacement. This pump will not build pressure when this occurs, but the motor will continue to function normally.
Now is when you may not be impressed with your compressor pump, but do not fret. It may finally be time to replace the timing belt and get your machine up and running again.
In this article, we discuss how the performance of your air compressor is affected by a broken belt and guide you on how to replace it correctly.
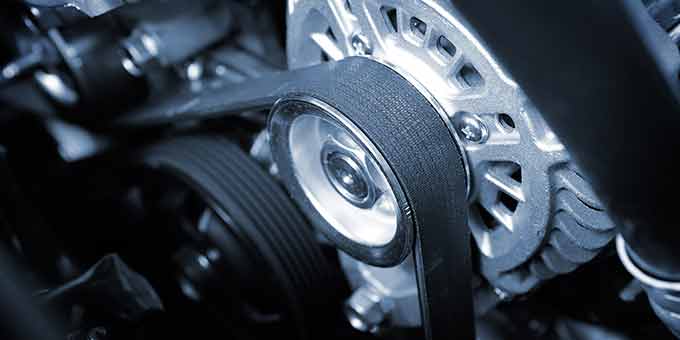
What Is an Electric Motor Pulley?
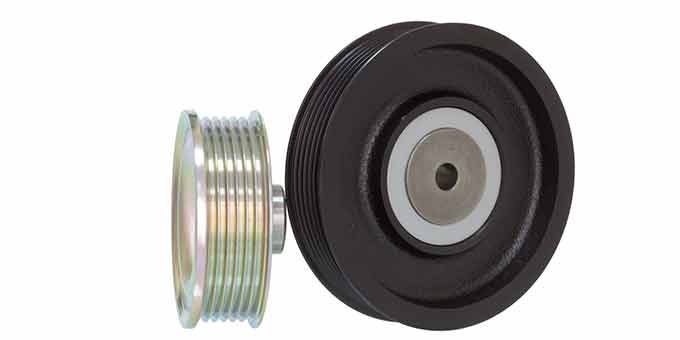
Power is provided to the pump head from the motor by a compressor pulley. Interestingly, a motor sheave is often created from alloy metal or cast iron, and its outer ring acts as a fan that cools the compressor pump.
In order to achieve a smooth operating pump, many manufacturers use the compressor pulley to balance the compressor. When under extreme pressure to provide slip-proof operation, another helpful feature of the sheave is its multiple grooves.
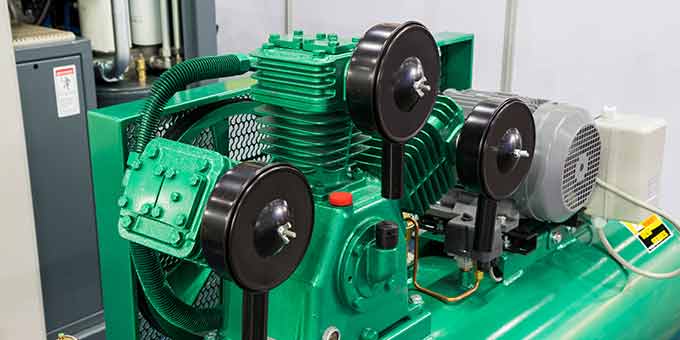
Power to the pump is typically delivered via an electric motor, but some expectations include gas power air compressors. An electric air compressor generally uses a drive pulley set consisting of drive belts, compressor pulleys, and a motor.
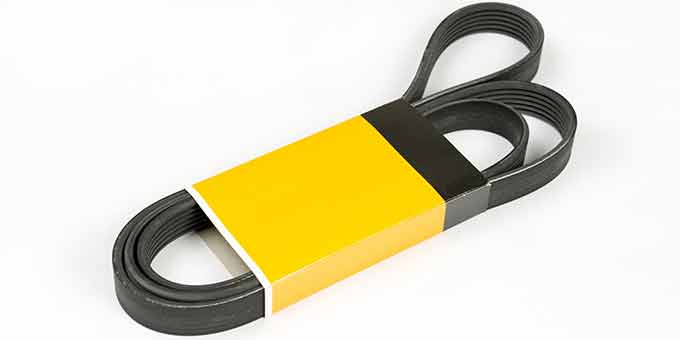
The motor sheave is commonly manufactured of the same material as the compressor unit and is usually smaller than the air compressor belt. V-type belts typically operate in multiples of two or three and are the most regularly used belts in air compressors.
Eliminating slippage under severe resistance is the primary reason manufacturers use multiple belts; it provides maximum contact between belts and the pulleys.
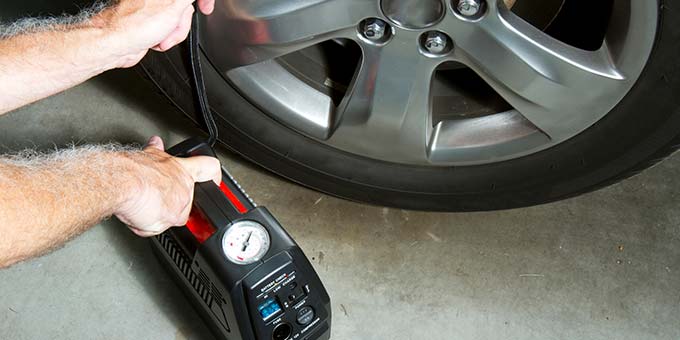
Air Compressor Uses in an Automobile
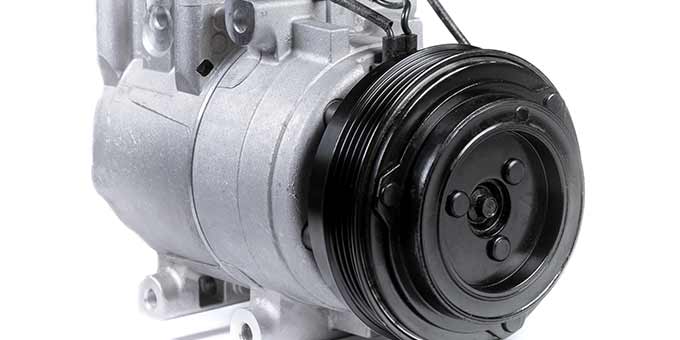
When an air compressor is used in an automotive application, it typically uses an electrically driven clutch pulley to perform the required action—the engine operating accessories power the compressor pump and allow it to run fluently.
The pulley style allows the strap to turn the clutched pulley at engine speed without using the air compressor. An electric clutch apparatus can be activated by pressing a control switch on the car’s dashboard if the compressor pump is needed, as with an air conditioning system.
Once the above action is performed, the clutch efficiently runs the compressor at engine speed which cools the passengers by powering the air conditioning unit. The switch is turned off when no longer needed, thus disengaging and cutting power to the clutch.
That lets the drive belt release and ride freely on the spinning compressor pulley.
How to Remove a Pulley from an Air Compressor Motor
Pulleys play a critical role in sending pressurized air to the nearby tank and are essential parts of any air compressor. Due to common issues like wear and tear, these mechanical devices can nonetheless be damaged over time.
During this stage, you may require a replacement belt, pulley, or entire air compressor, depending on the damages. Changing out an existing pulley is relatively straightforward if we learn to appreciate the main steps involved.
We will provide you with a handful of suggestions that can help you break this task down.
The Use of a Bearing Puller
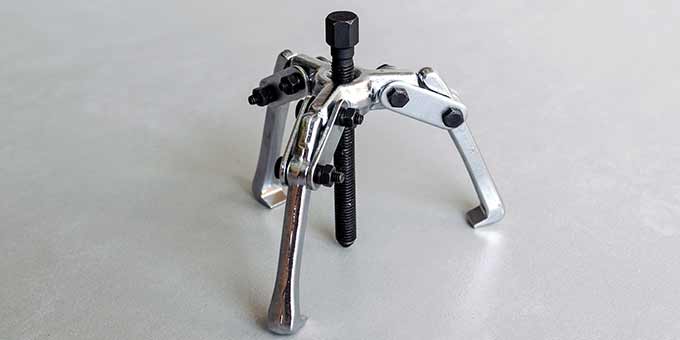
First, you need to remove the motor housing to access the entire wheel. Then, use this specifically designed tool to clamp around the circumference of the pulley itself.
In most cases, the jaws of the bearing puller will fit perfectly around the pulley, and by depressing the bearings, the entire piece should slide off the rod.
However, you should be aware that there can be times when the configuration of a particular pulley cannot be removed with this technique.
Alternative Methods for Removing an Air Compressor Pulley
In some cases, the pulley needs to be released before installing a new part, and you may not have a bearing puller to perform the job. Using a hex wrench or Allen key is generally required in these instances.
There may be more than one Allen screw present, depending on the model of the pulley wheel attached to your air compressor. In order to loosen the screw, you can begin to turn it counterclockwise. Any additional screws that may be present will also need to be removed.
Then, detaching the wheel from the rod will be much easier and faster to get the job done.
Always be sure that the air compressor is deactivated when employing either of the abovementioned methods to avoid serious injury.
Easy Steps to Change and Inspect Your Air Compressor Pump Belt
When well maintained, an air compressor pump will last you a lifetime. The belt is one of the most critical components of the air compressor and is often overlooked for maintenance.
Why is this, you ask? This part is often hidden behind a protective belt guard, making its replacement or maintenance easy to forget. You can extend the life and improve the performance of your air compressor by maintaining your compressor belt or loose pulley.
If you want to re-tension or replace the compressor belt, you can follow the step-by-step process below. You can also consult the product manual for your particular model if these steps don’t seem correct or you need additional information specific to your compressor.
It is recommended to adjust the tension and inspect the belt on your compressor everything three months for best performance.
Step One: Remove the Belt Guard
Never run a compressor without the belt guard securely fastened to the machine, as it is designed for your safety.
- Pressure snaps or screws is what typically hold the guard together
- Carefully remove the belt guard by removing the screws or separating and twisting snaps to loosen it up
- Make sure that you keep the screws in a safe place to reattach them later
Step Two: Inspect Belt
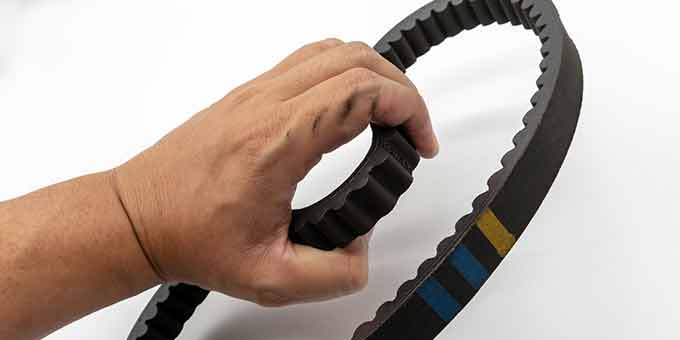
- Visually check the complete belt for frays or breaks
- If the belt needs to be replaced or shows damage, you can move to step three immediately.
- When the belt has no signs of damage or appears to be in working order, you can move on to step four
Step Three: Remove and Replace Belt
- Loosen (don’t remove) the four motor bolts holding the motor in position
- The belt should be loose and easily removable when shifting the motor towards the pump head
- In order to create proper belt tension, you need to move the motor back to the original position
- Make sure all the mounting bolts around the motor are tightened
- Consult your owner manual to determine the size of the belt you require
- Replace the belt with an appropriately sized one
Step Four: Tensioning and Aligning the Belt
- Touching the rim at two places, you need to lay a straight edge against the face of the flywheel
- The belt must run parallel to the straight edge, so adjust the motor pulley accordingly
- Moving the pulley on the motor shaft requires using a gear puller
- Tighten the mounting bolts after the pulley is positioned
- When weight is applied, you can determine belt tension by how much the belt moves
- If thumb pressure is applied, the strap not should not move more than 3/8 inch downward; consult your owner’s manual to determine the most suitable tension for your compressor tank
- Slightly adjust the distance between the motor and the tank
- Make sure to screw and tighten the bolts on the motor and move the strap back in place
- You may need to repeat the process of testing tension and adjusting to find the sweet spot
Step Five: Reattach the Belt Guard
- Put the guard back on the unit and either replace and tighten screws or snap pressure snaps back in their location
- Remember, if not appropriately fastened, an air compressor may produce a vibration that can affect the placement of the screws
Conclusion
A faulty air compressor pump can be a real pain in the butt, but it doesn’t have to be. When your machine cannot build pressure and no oxygen is filling the air tank, it may be time to check the condition of the pulley, strap, and mounting bolts.
By following the guidelines set out above, you can loosen the four bolts around the guard and perform a replacement. You may need to check where you can get the supply of these parts from, but there is most likely a local pump manufacturer in your region.
We hope you enjoyed this article and now know the key way to getting your pump up and running.